FastSlides Installation Guide via Integrated Apps
FastSlides is a PowerPoint add-in designed to help you manage slides across your organization more efficiently. This guide explains how to deploy FastSlides using the Integrated Apps feature in your Microsoft 365 admin center.
- FastSlides Installation Guide via Integrated Apps
Check out the Official Documentation
For more details on deploying Office add-ins, see:
Microsoft Docs – Office Add-ins
Note: When you deploy an add-in, you’re effectively pre-installing it for the users or groups you select. As an admin, you have full control over who in your organization can access the add-in.
Steps to Deploy FastSlides
1. Navigate to Integrated Apps
-
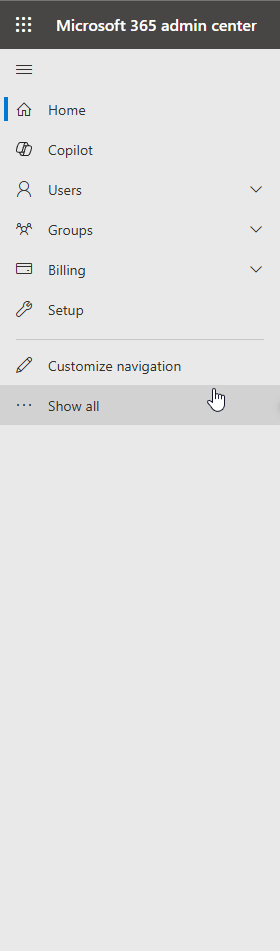
In the Microsoft 365 admin center, open the left navigation panel. https://admin.microsoft.com/
-
If necessary, click Show all to see more options.
Show Image
-
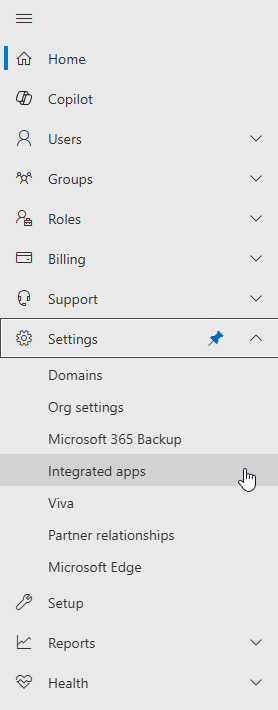
Choose Settings, then select Integrated apps.
Show Image
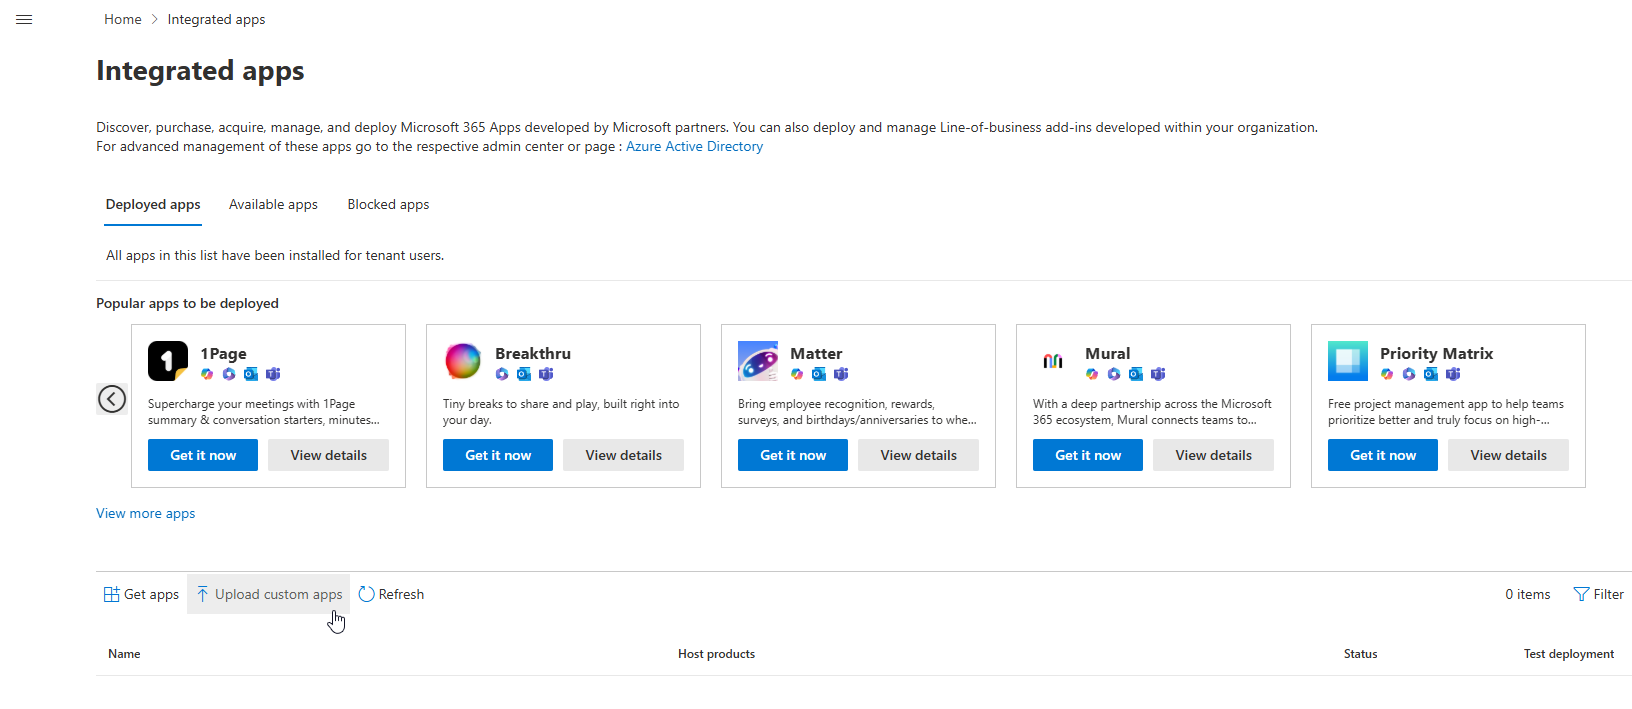
2. Upload the Manifest.xml
-
Click Upload Custom App.
Show Image
-
You can either:
- Upload the
manifest.xmlfile directly. You can download it here:
FastSlides Manifest 🔽 - Paste the following URL into the provided field:
https://fast-slides-public.nbg1.your-objectstorage.com/fast-slides-public/installation/manifest.xml - For more information about what you are installing, read the Manifest Explanation section below.
- Upload the
3. Deploy the App
- Click Deploy.
- This will initiate the installation of the FastSlides add-in for the selected users or groups.
4. Assign Users
- Click Add users to choose who will have access to FastSlides:
- Entire organization – Deploy for all users.
- Specific users/groups – Deploy only for certain Microsoft 365 groups, security groups, or distribution groups.
- Just me – Deploy for yourself only.
- (Optional) If you prefer to test FastSlides before making it widely available, select Test deployment and deploy to a small set of users.
5. Accept Permissions
- Review the app’s capabilities and permissions.
- If consent is required, only a global administrator can approve it. Click Accept permissions if prompted.
6. Review & Finish Deployment
- Review the deployment summary.
- Click Finish deployment to confirm and complete the process.
Viewing the Deployment Status
- In the Microsoft 365 admin center, go to the Overview tab.
- Click View this deployment to see the app’s status and the date it was deployed.
Done! ❤️
What am I Installing? Manifest Explanation
The FastSlides manifest file describes how the add-in integrates with Microsoft PowerPoint. It includes:
-
Add-in Source URL
- Points to the FastSlides web application at https://app.fast-slides.com.
- You can visit this link in your browser to explore FastSlides or create an account before using it in PowerPoint.
-
Runtime in PowerPoint
- When you open FastSlides inside PowerPoint, the add-in will load relevant web content from the above URL.
-
Permissions & Capabilities
- Definitions indicating what the add-in can do within PowerPoint (e.g., accessing slide metadata, managing slide libraries, interacting with organizational resources if configured).
-
Requirement Sets
- Information about which Office JavaScript APIs the add-in needs.
- Ensures FastSlides can perform key functions, such as inserting and saving slides.
-
Further Documentation
How It Works
Because the manifest primarily points to the FastSlides web application and states the requirements needed for optimal functionality in PowerPoint:
- No additional installations are necessary on user machines beyond this deployment.
- FastSlides will appear in the PowerPoint ribbon (typically on the far right) once deployment is complete.
- Users can then manage, and share their slides via the FastSlides interface directly within PowerPoint.
That’s it! You’re now ready to use FastSlides to streamline your organization’s slide management. If you have any questions, reach out to your administrator, send us an email at info@fast-slides.com, or consult the Microsoft Docs – Office Add-ins.